Conan Mercer Site Reliability Engineer
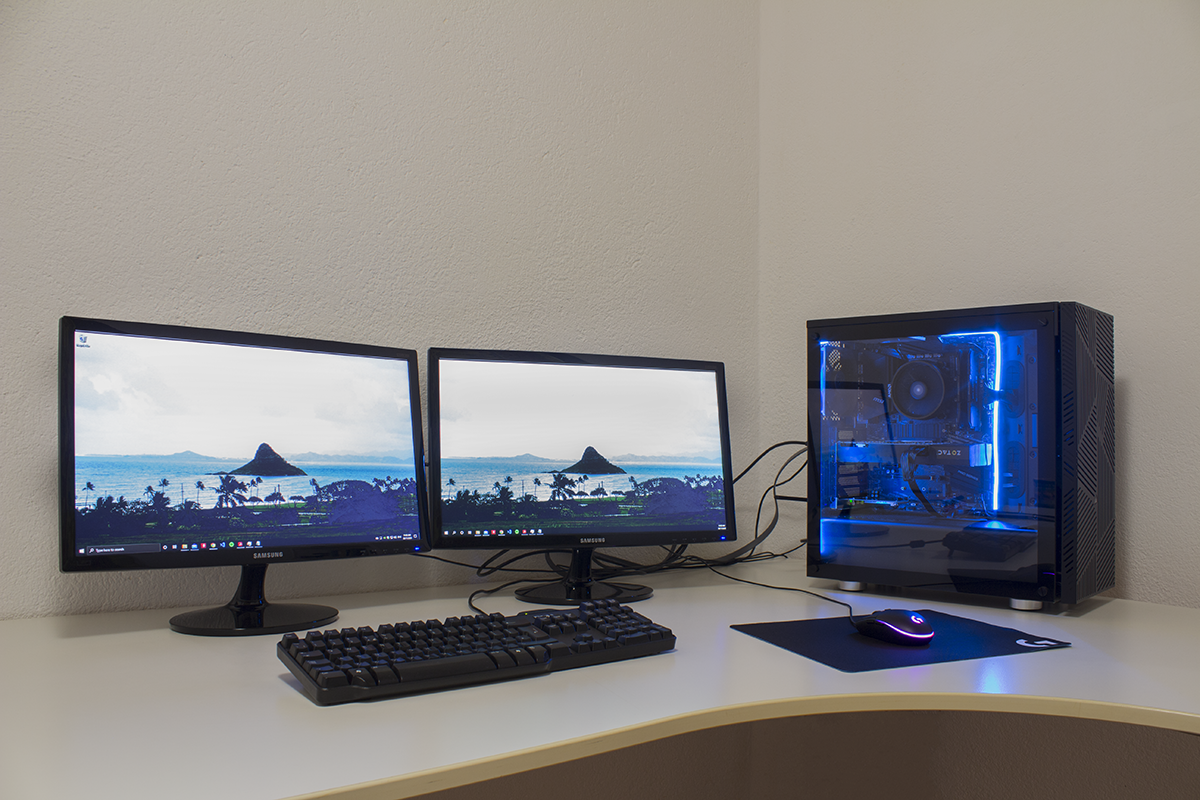
Building my Computer
28 Nov 2020 - Conan Mercer

Motivation
My current computer was getting slow, unstable, and generally outdated. I had built it in late 2014 in preparation for graduate school. It had served me well throughout my Ph.D research, and also for some light gaming throughout those years. However in 2020, it was just no longer cutting the mustard.New Parts Selection
| Type | Product | € Price |
|---|---|---|
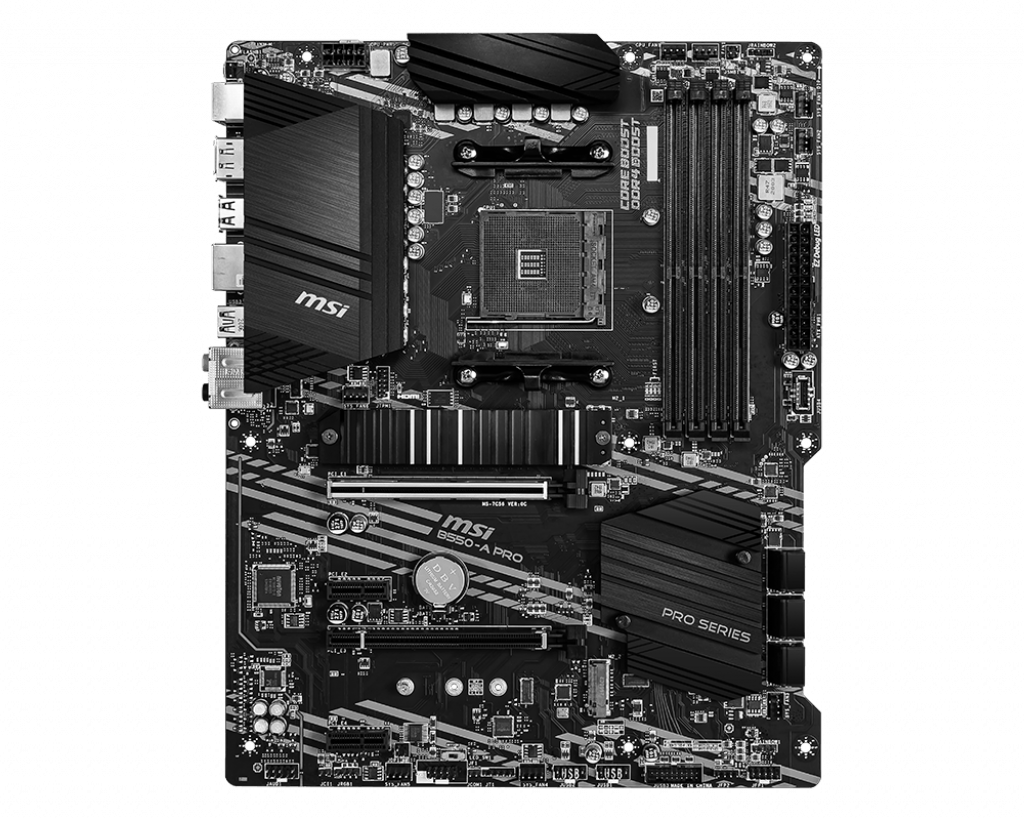
| Motherboard | MSI B550-A Pro | 134.90 |
| CPU | AMD Ryzen 5 3600 | 202.27 |
| RAM | 16gb Crucial Ballistix 3600 MHz, DDR4, CL16 | 76.22 |
| GPU (used from old build) | GTX 760 | 0 |
| Lights | Phanteks NEON Digital | 22.83 |
| Boot SSD (used from old build) | Kingston SSD A400 | 0 |
| Storage SSD | TCSUNBOW 1TB | 71.99 |
| Wi-Fi | Hommie 1200M 867mbps | 25.99 |
| Fans | Noctua NF-S12B redux-1200 | 13.90 |
| PSU | Corsair TX550M 80 Plus Gold 550W | 83,78 |
| Case | Corsair 275R Airflow | 69.95 |
| Total | €701.83 |
Reasoning behind parts selection
The Central Processing Unit
At the time of building the AMD Ryzen 5 3600 was by far the best price to performance ratio CPU on the market. I actually bought this Ryzen 2nd Gen CPU just after the release of the Ryzen 3rd generation of CPUs. At that time the closest to the Ryzen 3600 was the Ryzen 5600x. However the newer Ryzen 5600x CPU was not in stock anywhere, and if it was, costed far more than 300€ which placed it well out of favorable price to performance ratios.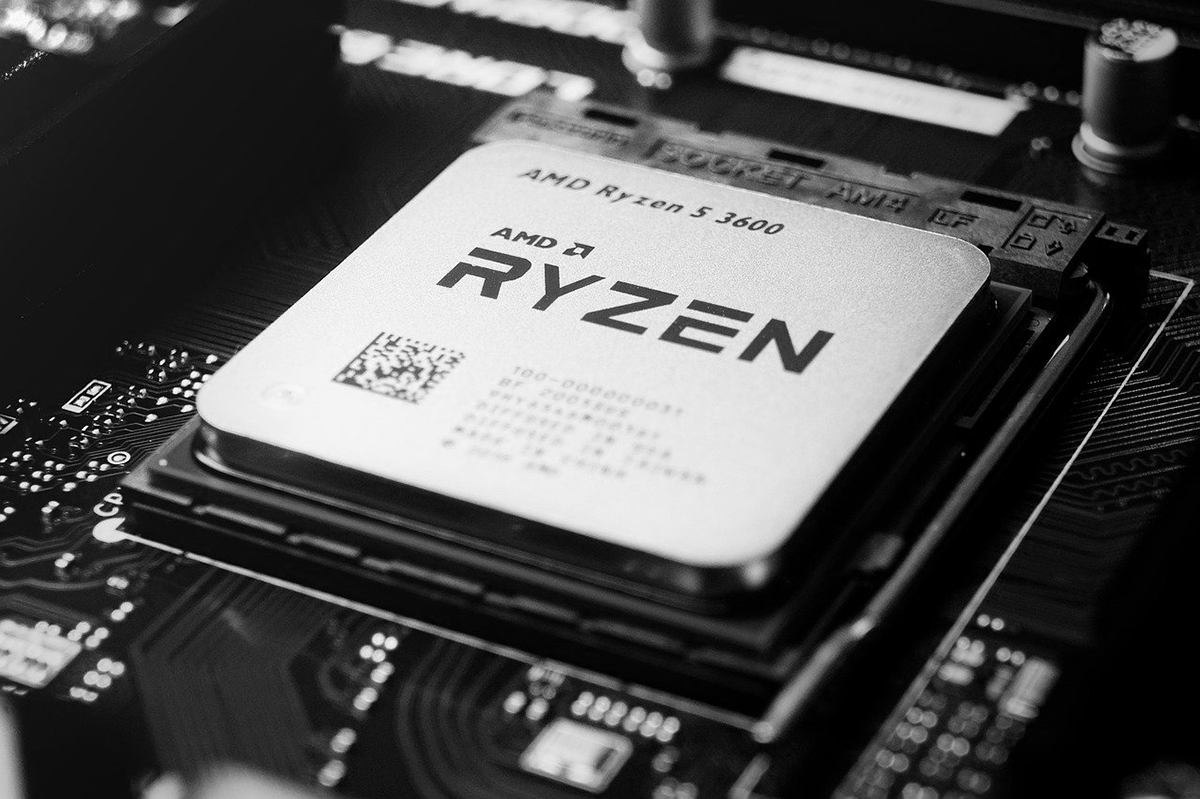
Random Access Memory
It is by now well understood that Ryzen 2nd Gen, which the CPU for this build is, benefits significantly from fast RAM. Through a bit of research, I found that DDR4 3600 MHz with a timing of C16 or less is the best price to performance ratio for the Ryzen 3600 processor. That was easy, I bought the cheapest ram of this spec from Crucial, a reputable memory manufacturer. This RAM and CPU combination will make for racehorse speeds.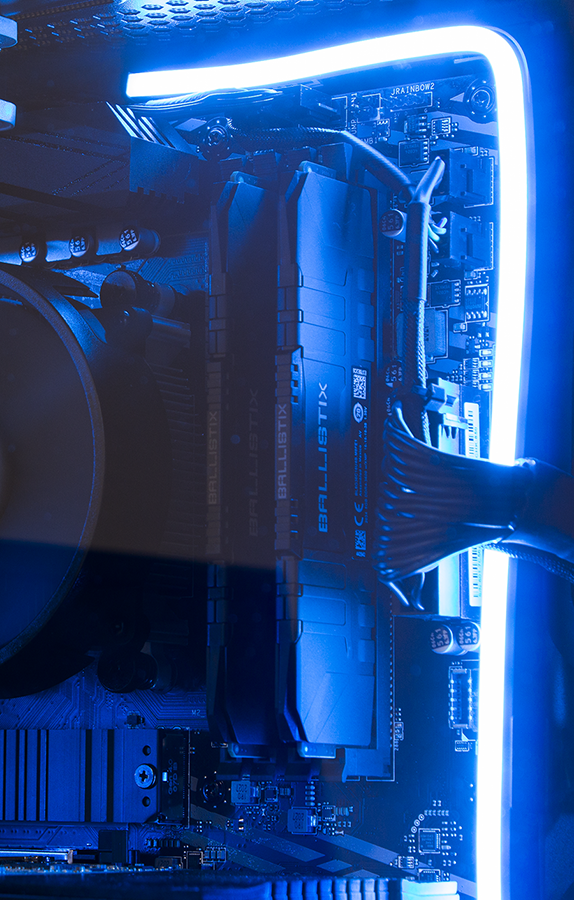
The Motherboard
A motherboard is the "mother" of all components attached to it. For the motherboard, I wanted something with PCIe 4, so that a future upgrade of the graphics card would not be an issue, as most GPUs moving forward from 2020 will likely be PCIe 4. The critical feature of the new PCIe 4 version is that it doubles the bandwidth from the previous PCIe 3 generation. This means that PCIe 4 can theoretically hit approximately 32 gigabytes per second (GB/s) of data flowing in each direction, while PCIe 3.0 maxes out at around 16GB/s.I also wanted an M2 slot for a future boot SSD upgrade, and also RGB pin headers to connect LEDs to illuminate the case and make good use of the tempered glass side panel.
XMP profiles
It is worth noting here that I needed to learn about XMP profiles in the motherboard BIOS for the RAM optimization. As the RAM used in this build is overclocked at a speed of 3600 MHz, it was not enough to just buy the RAM and press it into the Motherboard. Overclocked RAM basically means that it runs above standard DDR industry specifications. Anyway, once the system was posting, I entered the BIOS and selected XMP profile 1, the motherboard is good enough that it automatically provided me with an XMP profile to suit my RAM. I saved these settings and rebooted the computer, from here the RAM ran at its designed 3600 MHz.Just to make sure, I tested the RAM stability by using the free software MemTest86. I made a bootable USB drive of this software, ran it for one pass (about half an hour) and did not receive any memory errors. I could have ran the test for longer but at this point, I was satisfied the RAM was good and stable.
The Case
A tempered glass side panel was a must for me. When I built my last computer back in 2014, the prices for glass cases where way out of range. Thankfully, economies of scale and the benefit of time allowed me to snag a beautiful tempered glass case from Corsair for a very reasonable 70 euro. It has good cable management options, space for 4 SSDs, 2 HDDs, plus came included with 3 fans.RGB Lights
I did modify the case by installing the Phanteks NEON Digital RGB lights. I plugged these into the motherboard Rainbow RGB Header after I installed one strip around the motherboard, and the other between the glass and the side of the back of the case. Be careful when plugging the lights into the motherboard header, the 5V pin must go into the 5V plug on the lights, if not you may damage the lights or even break them, just be careful and read the pin out guide for the motherboard and the lights and you should be fine.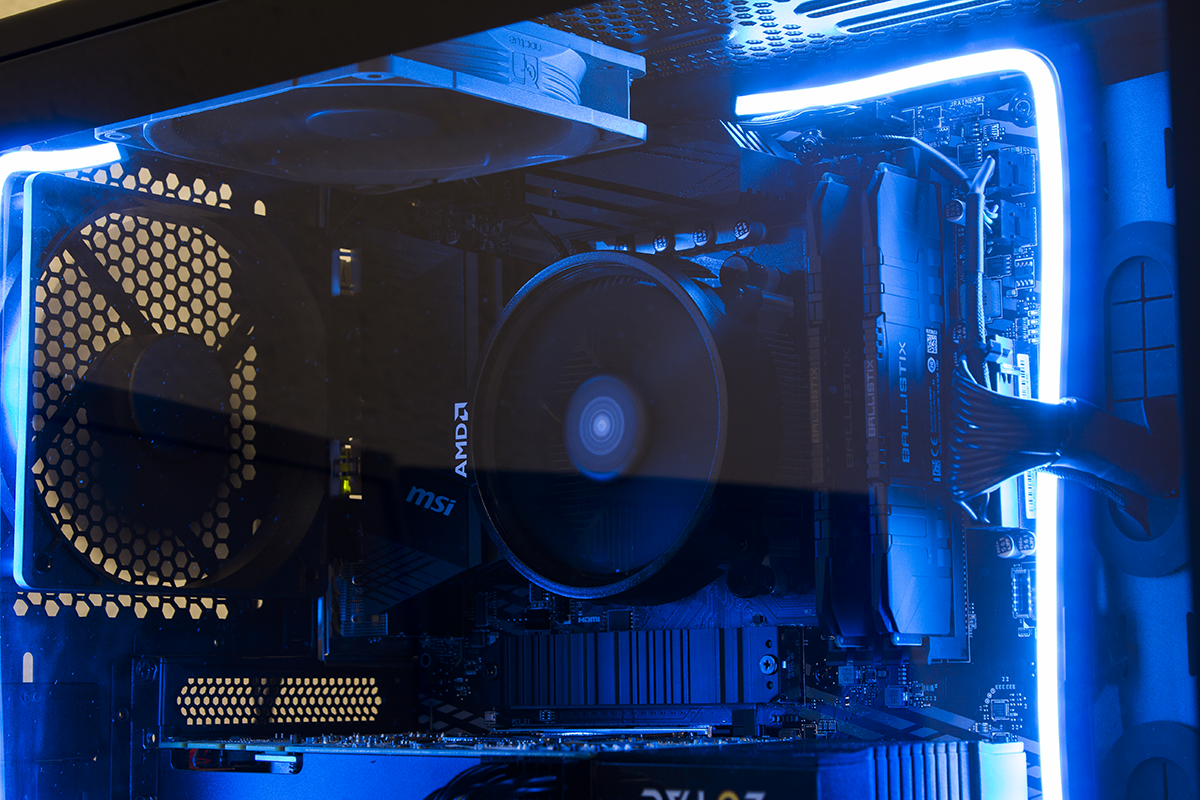
The Power Supply
The power supply is quite possibly the most unglamorous and boring part of any computer build. With that said, it is very important to spend some time researching this part. Never cheap out on a power supply. If you would like your brand new components to last a long time, a system that does not randomly crash, and are conscious about the environment, do not settle for something cheap to save money.A PSU with an 80 Plus bronze rating or above is the best way to go. With regard to watt output, 550 watt should be sufficient for most builds. At a push 650 watt is acceptable, but unless you have an absolute behemoth or plan to put a very power hungry GPU into your build, stay away from anything over 650 watt. It is just complete overkill and they get expensive at these power ratings.
The two biggest things to consider are power efficiency rating (save money on your electric bill, plus better for the environment), and about a 100 watt headroom or more in what you expect your system components to require. For example, I would expect my system to use about 350 watts of power, so my 550 watt power supply allows for some movement room if I upgrade some components, 650 watt would have been overkill, 1000 watt, forget about it.
| 80 Plus Rating | Icon | 20% | 50% | 100% |
|---|---|---|---|---|
| 80 Plus Bronze |  |
81% | 85% | 81% |
| 80 Plus Silver |  |
85% | 89% | 85% |
| 80 Plus Gold |  |
88% | 92% | 88% |
| 80 Plus Platinum |  |
90% | 94% | 91% |

Performance
I used UserBenchmark to benchmark the system after it was built. At the time of writing, the test benchmarked my system against 36,071,916 other PCs worldwide.The AMD Ryzen 5 3600 performed in the 98th percentile. This means that out of 100 PCs with exactly the same processor, 2 performed better. Not bad.
The RAM received a benchmark of 97.2%, the boot SSD 91.8%.
The old graphics card benchmarked at 24.7%, which does not come as a surprise as this card was released in 2013 and is the only major component in this build that was reused from my previous build. For sure, the speed bottleneck is the GPU at this point in time. Thankfully, I can upgrade this component in the future when I want to, at ease.
Conclusion
My next project for this computer will be a custom infrared temperature sensing system using a microcontroller and OLED screens. Together they will monitor the temperature of the intake and exhaust fans, stay tuned!